Here at Gold Leaf Supplies we have years of knowledge gleaned from our experience and contacts with gilders and other trade specialists during our forty years of business. I myself have a background in Art & Design and have completed quite a few gilding projects, mainly glass gilding (verre eglomise) but there was one area of gilding that we have often had people enquire about but had no practical experience – water gilding.
Water gilding is an old technique that, at its most basic, involves laying gold leaf over a surface built up from layers of gesso and bole. The bole gives a smooth, flexible surface that allows the use of an agate burnish to polish the surface of the gilding to give a bright, mirror finish. As I found out though, there’s a world of difference between knowing ABOUT water gilding and knowing HOW to water gild! My experience, particularly with all the preparation work that has to be done before you even get to the gilding has left me with nothing but total respect for the artisans who have learned and honed this craft to its utmost.
As a total novice to water gilding I needed a great teacher to introduce me to the art, thankfully one of our lovely clients offered to help me out! Richard Walker of Watergild Studios is a fantastic gilder and teacher who had offered me one-to-one lessons! Unfortunately our schedules always seemed to conflict and it wasn’t until now after Richard had come back from a wildly successful teaching tour in the US that we were able to meet. So along to Portsmouth I went, along with some blank frames generously donated by John Mitchell from Robel Framing (http://www.thelatenovembergallery.co.uk/), who had known I wanted to learn to gild for quite some time and put together some frames for me!
Richard is a natural teacher and a real people person, so easy to get on with and has an incredible knowledge of the gilding and restoration trade and pretty much anything else you care to throw at him! He has a wicked sense of humour and makes the course fun as well as educational! I can see why his courses are such a success. Each year Richard takes quite a large class at the Chippendale International School of Furniture for two weeks and he has some very amusing anecdotes from his times spent there.
Surfaces being prepared with oil size before they’re gilded onto
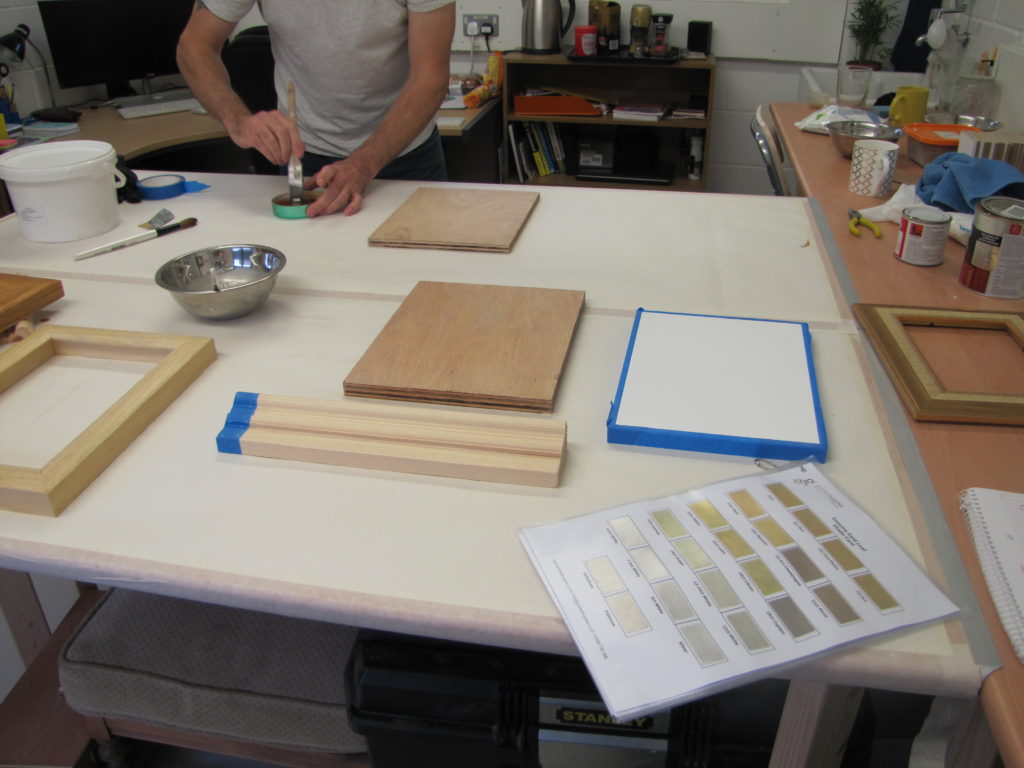
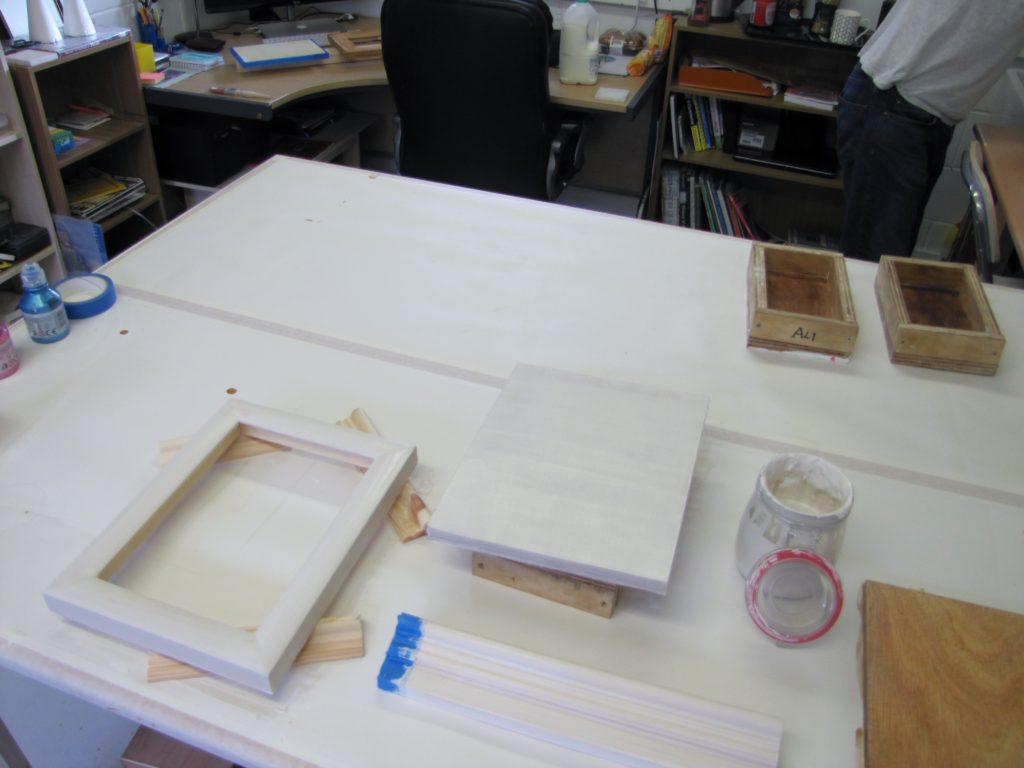
My frames, panel and sample Dado being prepared for the first few coats of gesso
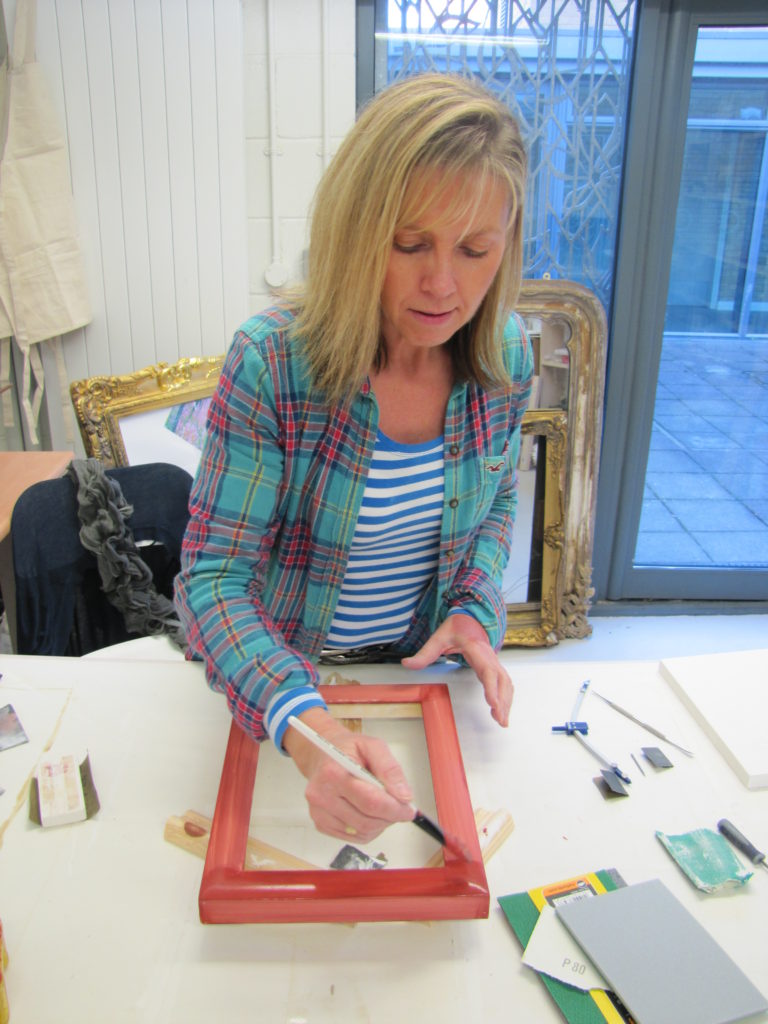
When it came to our course, Richard had the patience of a saint – especially when I said that I wanted to learn everything! Over the two days I learned so much from Richard, least of all just how much hard graft goes into each and every water gilded piece! There’s a lot of preparation that needs to be done when it comes to water gilding including layering gesso and bole and Richard didn’t let me off the hook here – I had to apply all ten layers of gesso and five layers of bole by myself to my frame, along with carefully sanding and rubbing back on each coat to achieve a perfect, silky smooth surface. Unfortunately, being a beginner my first tries were less than perfect! Richard helpfully pointed out the ‘dings’, or imperfections, in the surface and sent me away with Wet & Dry paper in hand to smooth them out. I had always heard and read about how involved water gilding was but it’s another thing to experience it first hand! The final finish though is well worth all the effort spent, that gorgeous mirror finish makes it all worth it.
Sunrise outside the hotel, ready for another day of gilding!
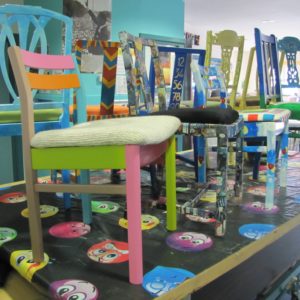
On our visit to the Strong Voices Project we saw some fantastic upcycled furniture that had been revamped
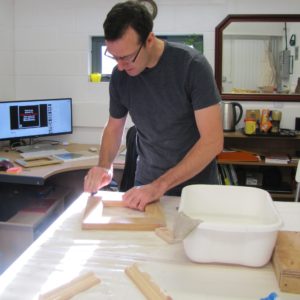
Another day with no end to the sanding and filling in sight!
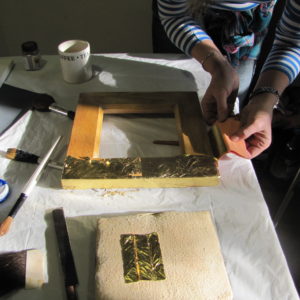
Laying the leaf onto my oil gilded frame
The preparation of the frame swallowed up all of day one and after a restful evening at the Langstone Hotel, Portsmouth, it was back into the studio at 8 am on the Saturday, I still had a lot of sanding still to do if I was going to be able to lay my leaf on the frame later that day! We took a little detour mid morning to a lovely community centre not too far from Richard’s studio where he was offering support in the way of teaching specialist paint techniques to a great group of teenagers involved in the “Strong Voices Project”. They were incredible young people and had produced some wonderful up-cycled furniture and other items. I didn’t have any time to pick up any of their techniques, I still had too much sanding to do on my frame!
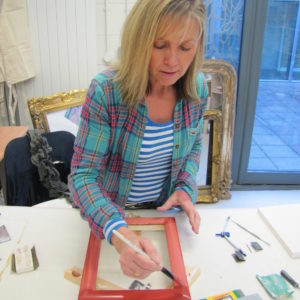
Applying the bole layers on top of the sanded gesso layers
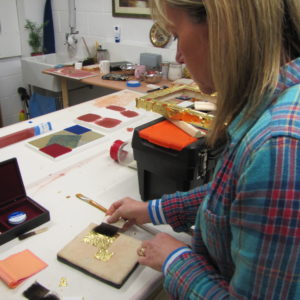
Learning to handle the cushion, knife and gilders tip
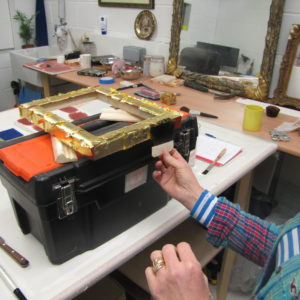
Laying the leaf down using a gilders tip
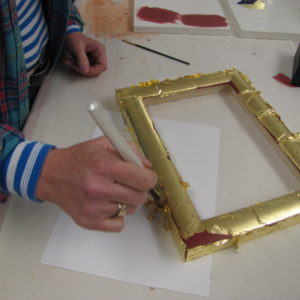
Brushing off skewings after the first laying of leaf before patching the missing areas of gilding with more gold
Finally, after what seemed like an eternity of a sanding we got to the point that I was finally able to lay the leaf. The whole process has been eye-opening, I had always assumed the most crucial part of the process was the leaf-laying when in fact it’s the painstaking preparation beforehand that contributes the most to the final product. With the gold on the frame it was already starting to take shape but unfortunately my time with Richard was coming to a close! With a few words of advice regarding burnishing, I headed back to Gold Leaf Supplies with my frame and a armful of other samples we’d managed to prepare over the two days – Richard is a veritable treasure trove of knowledge and we somehow managed to find time to discuss and make samples of oil gilding, a verdigris effect created by ageing copper leaf with bleach, ageing and distressing gold and imitation leaf, scraffifto with egg tempera and made a scagliola panel.
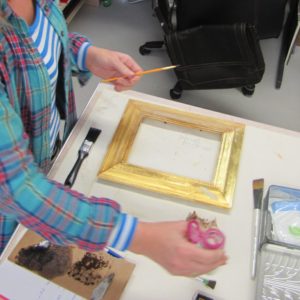
Richard is teaching me how to use various distressing techniques to create an aged finish on the leaf
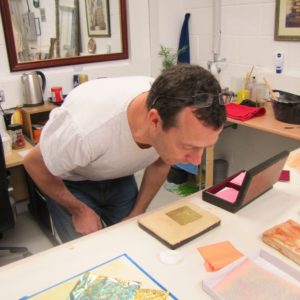
Oil gilding onto a panel with a mixture of imitation, genuine gold and variegated leaf
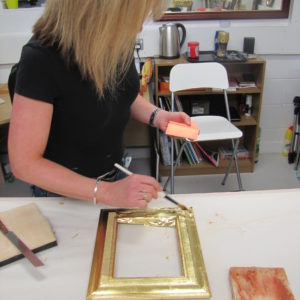
Oil gilding with the Scagliola block we prepared in the foreground
After a spot of burnishing back home I must say I’m pretty pleased with the result! It’s not perfect by any stretch of the imagination but it’s mine and I spent hours on it! This project was definitely a learning experience and I’m hoping to meet with more of our customers to learn some more ins-and-outs of the trade, so watch this space!
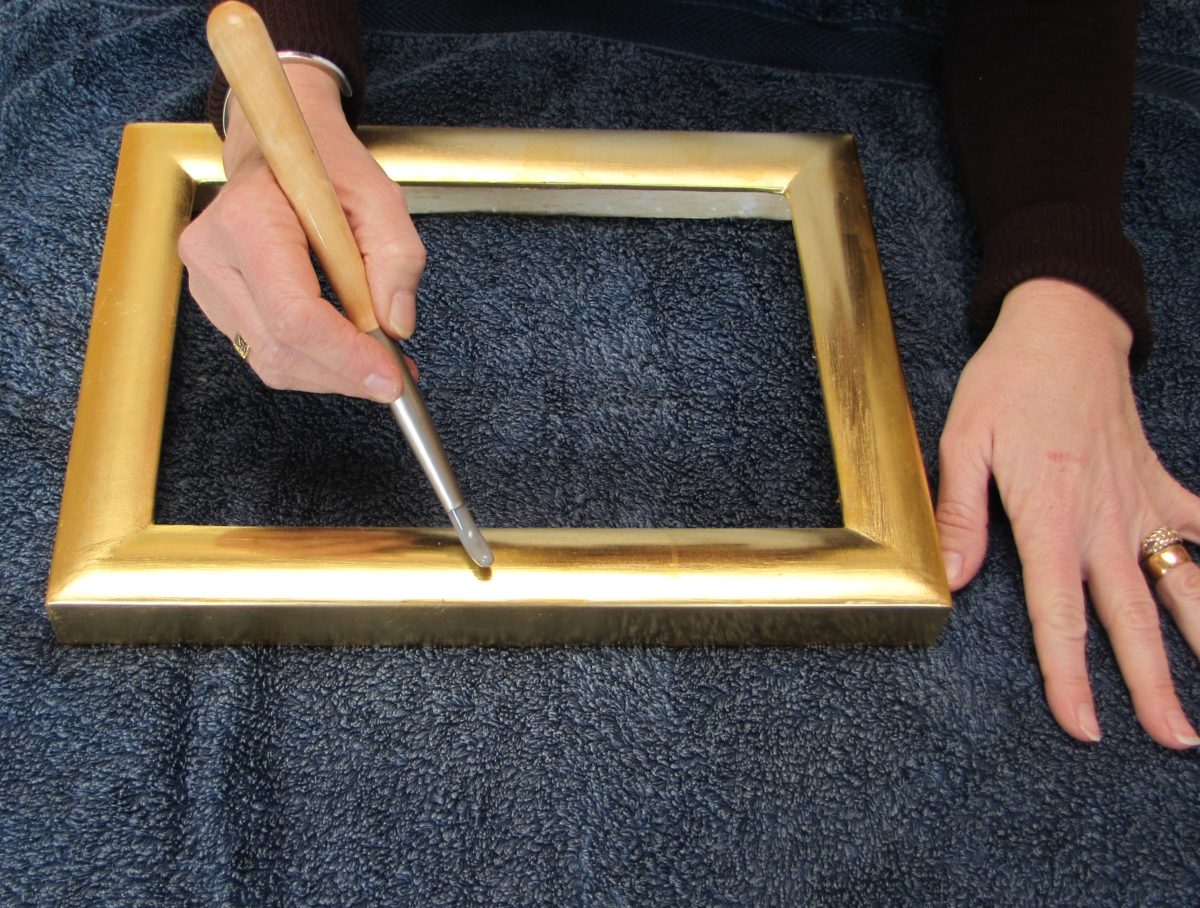
Burnishing the leaf onto the bole surface, it’s very satisfying seeing the mirror shine coming up!
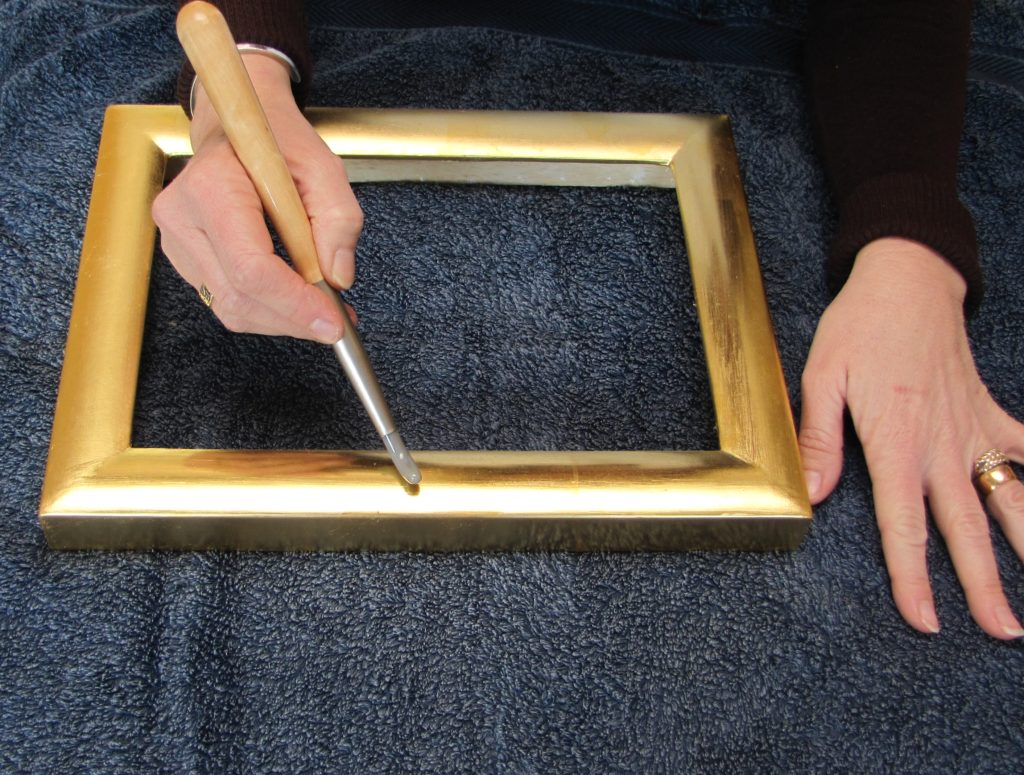
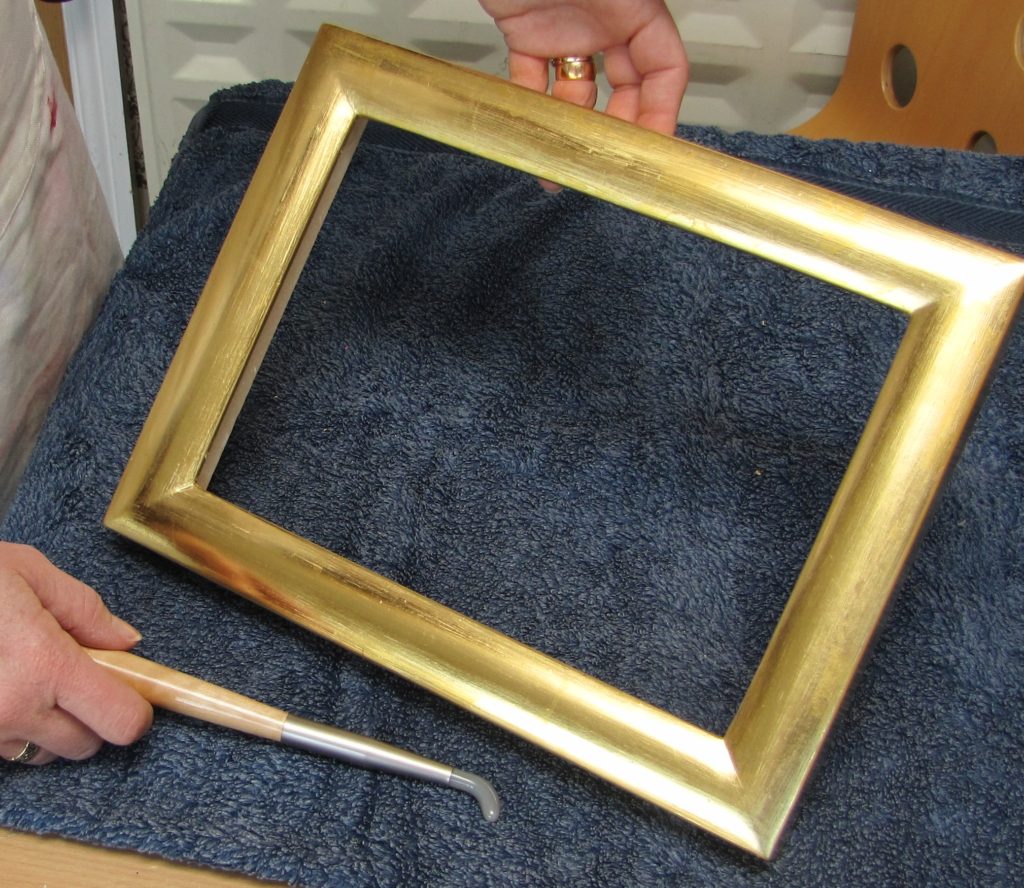
The finished frame – gorgeous, but it needs something inside it! Maybe some verre eglomise…? I feel another project coming on!
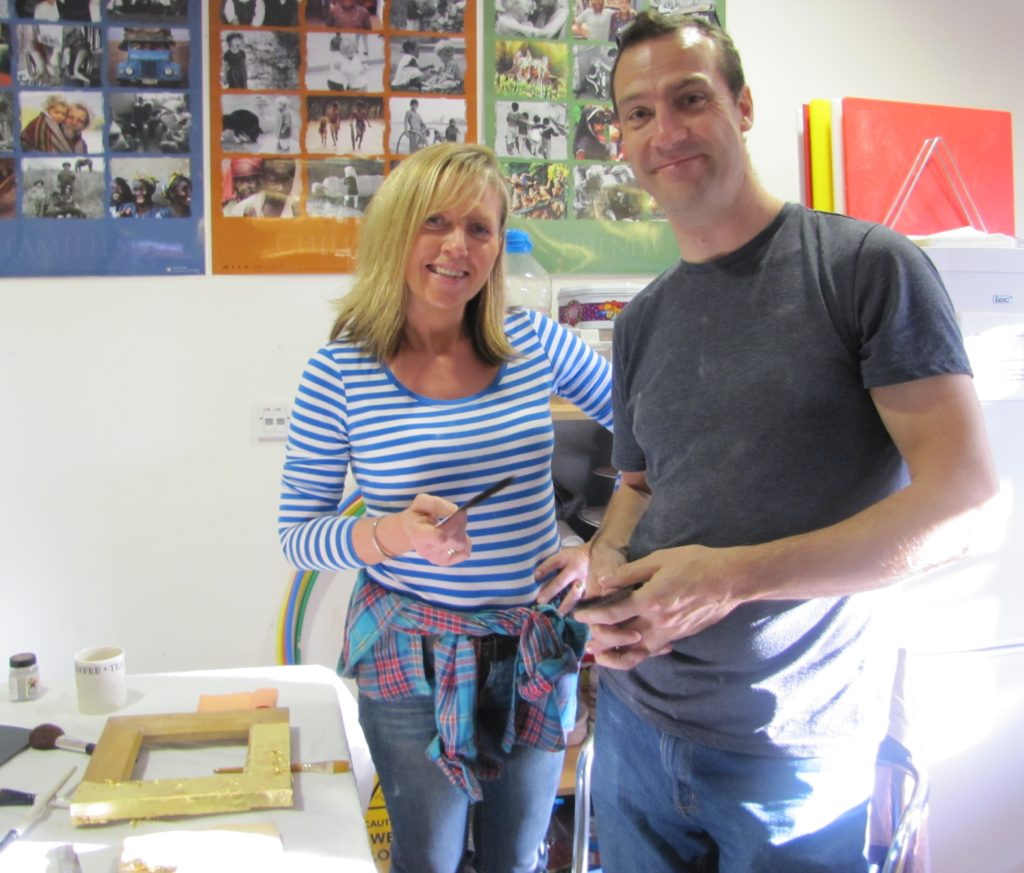
Richard, incidentally, has started on the exciting journey of writing a book – and none too soon in our opinion! The finished book promises to talk about all areas of gilding, from the historical background of gilding right down to information about the tools, processes, techniques and materials involved. There will also be an assorted range of step-by-step projects in all three disciplines, so that you can fully immerse yourself into gilding and improve your skills as you go along! We wish him all the best with this and are very much looking forward to seeing the book published!
